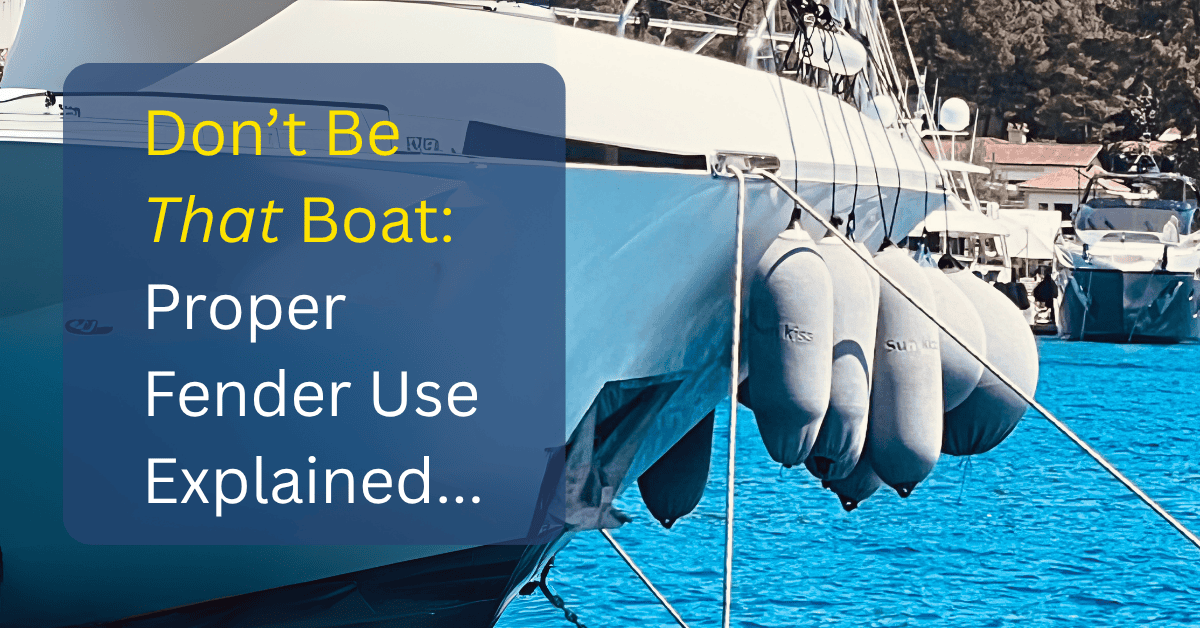
If you’ve spent enough time at a marina, you’ve seen that boat—the one with fenders hung too high, dragging in the water, or way too many cluttering the hull like a floating storage rack. Whether you’re using too few or going overboard, poor fender use makes docking riskier and can lead to costly damage. Poor fender use not only makes docking riskier, it can also result in costly damage to your boat or someone else’s. Let’s break down how to use fenders correctly so you can protect your vessel, dock with confidence, and avoid being that boat.
WHY FENDER PLACEMENT MATTERS
Fenders are your boat’s first line of defense against impact while docking or rafting up. They absorb shock and prevent your hull from scraping, bumping, or colliding with docks, pilings, or other vessels. Improper placement can lead to:
- Hull damage and scuffs
- Broken fenders or lines
- Awkward or unsafe docking situations
Proper fender use is not just about protection—it’s about respect for your equipment and those around you.
KNOW YOUR IMPACT ZONES
To place your fenders properly, you first need to know where your boat is most likely to make contact. These are your key impact zones:
- Midship (Sides): Takes the most contact during docking or rafting.
- Bow (Front): Important when approaching head-on or at an angle.
- Stern (Back): Critical when backing into slips.
Consider your boat’s design, docking setup, and water movement to determine where to focus your protection.
HOW MANY FENDERS DO YOU NEED?
A good rule of thumb: one fender for every 10 feet of boat length, with a minimum of three fenders per side for boats under 40 feet. Use more if conditions are rough or when tying up to unfamiliar or rough surfaces.
HOW TO POSITION YOUR FENDERS
Follow these guidelines for effective placement:
- Height: Hang fenders just above the waterline so they contact the dock before your boat does.
- Spacing: Distribute them evenly along the hull, covering the most vulnerable areas. Place one near the widest point (midship), and others forward and aft.
- Orientation: Most cylindrical fenders can hang vertically or horizontally, depending on need. Horizontal works well when docking against a flat wall or pilings.
- Securement: Use high-quality fender lines and tie them securely to the boat’s railings, cleats, or dedicated fender hooks. Adjustable lines are ideal for making quick changes in response to dock height or tide.
CHOOSING THE RIGHT FENDERS
Size and type matter. Oversized fenders offer better protection, especially in rough conditions or for larger vessels. Inflatable fenders, like those from AERÉ Marine, are lightweight, highly durable, and easy to store when not in use. For added protection, pair them with Fenda-Sox® covers, which reduce scuffing and extend the life of both the fender and your boat’s finish.
COMMON FENDER MISTAKES TO AVOID
- Dragging in the water: Causes wear, reduces effectiveness, and looks sloppy.
- Hanging too high: Won’t protect your hull from dock impact.
- Too few fenders: Doesn’t provide enough coverage.
- Too many fenders: Creates clutter, adds unnecessary drag, and looks unprofessional.
- Ignoring the stern: Especially risky when backing into slips.
- Worn or sun-damaged fenders: Cracked or flattened fenders can fail when you need them most.
ADAPTING FOR DIFFERENT DOCKING SCENARIOS
Docking isn’t one-size-fits-all. You may need to adjust fender use based on your situation:
- Fixed Docks: Position fenders lower to handle constant water level differences.
- Floating Docks: Midship placement may be more effective as dock height rises and falls with the tide.
- Rafting Up: Place fenders on both sides of the boat, and consider ball fenders for wider protection between vessels.
FINAL THOUGHTS
Smart fender use is one of the simplest, yet most important, habits any boater can develop. It protects your investment, keeps fellow boaters happy, and ensures every docking goes smoothly. So next time you’re pulling into a slip or rafting up, take a few extra minutes to check your setup — and don’t be that boat.


